Installation is a two-step procedure; actual installation of the program files followed by an activation step.
You will have a single executable file that includes the entire installation package.
The file is named “Setup_Dynamic_AI_6_Personal.exe”. (An additional number indicating the internal version of Dynamic AI may be present.)
Execute the Setup_Dynamic_AI_6_Personal.exe file.
The install wizard will guide you through the extraction steps:
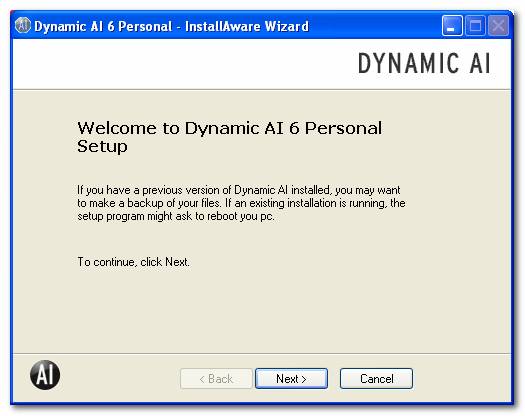
1) Welcome
message – click Next or Exit to cancel installation

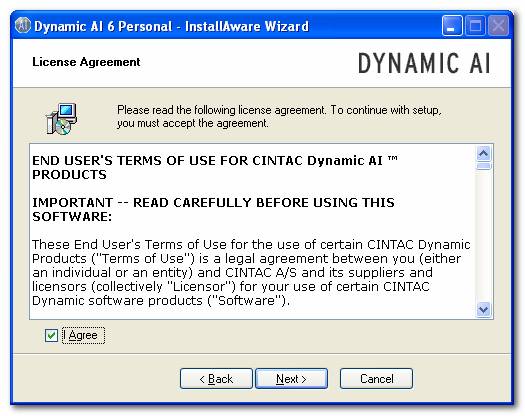
2)
License agreement - Click the check box and then Next to accept or Exit
to cancel installation.
3) Dynamic AI Personal can be run under either Microsoft Internet Information Services (IIS) or Quickweb web server. It is recommended to run Dynamic AI under IIS. If IIS is not installed, only the Quickweb option will be shown.
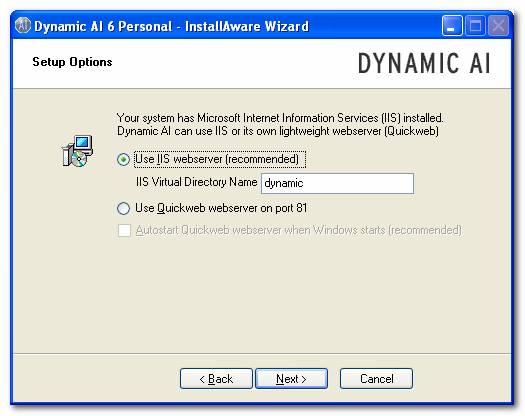
If you choose to use Quickweb, this program will be installed together with Dynamic AI. The Quickweb web server has to be started in order to be able to run Dynamic AI. Quickweb can be started automatically when Windows starts or by clicking it’s icon.
4) Select installation path - The default installation point is C:\Program Files\Dynamic AI. If you accept this, press Next, otherwise correct and press Next to install files.
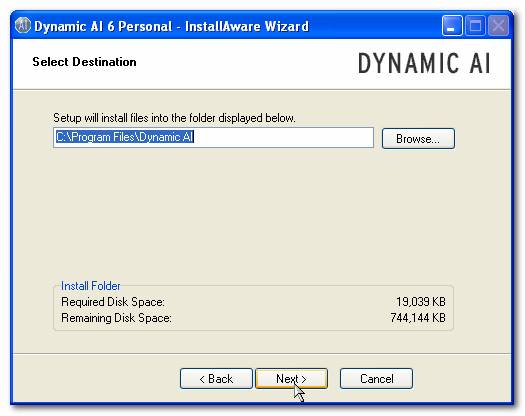
5) After successful file copying the confirmation page is shown. If you upgraded the Dynamic installation you might be asked to restart the system.
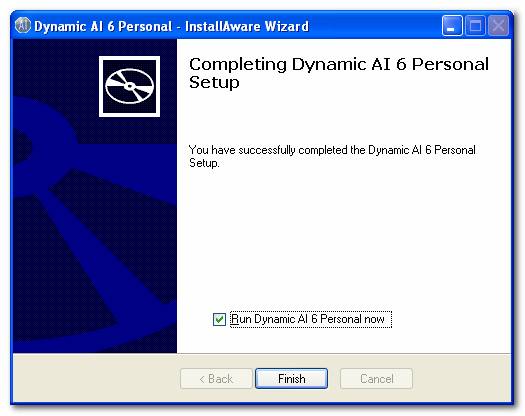
You can select to run and activate Dynamic AI immediately after file installation or activate Dynamic AI later on.
Shortcuts have been put on the desktop and in the start menu.
When running Dynamic AI for the first time you will be asked to provide activation information as shown below.
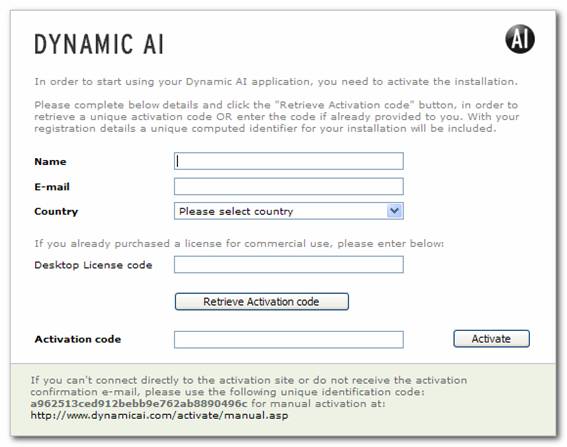
Enter name, e-mail and country information.
If you have purchased a Dynamic AI Desktop license, you can supply the license code here.
Click “Retrieve Activation code”. You will get an e-mail with a personal activation code shortly.
If you don’t receive the e-mail, verify that you’ve entered the correct address or check your junk e-mail folder.
Paste the received activation code and click “Activate”.
After successful activation the following screen is shown:
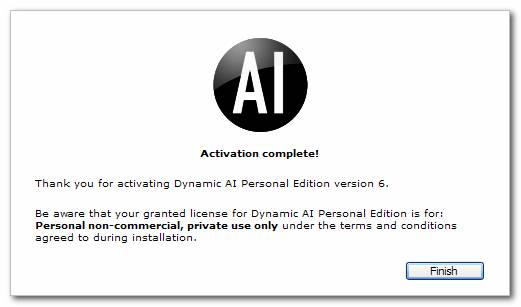
When clicking “Finish” Dynamic AI is ready.
Next time you want to start Dynamic AI, just use the shortcuts on either the desktop or in the start menu.
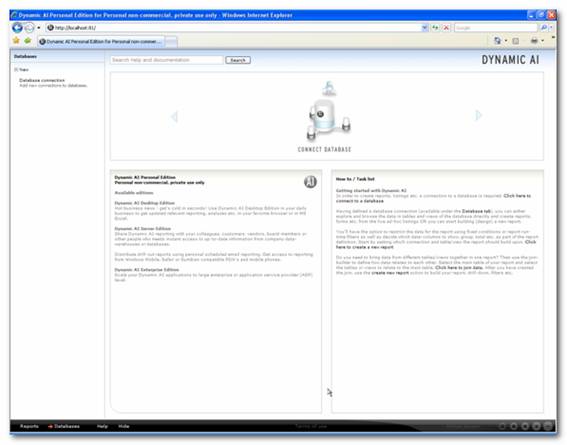
Dynamic AI can also be started by opening http://localhost/dynamic/ (when installed on IIS in default virtual directory) or
http://localhost:81/ (when installed with Quickweb web server).
If you installed Dynamic AI to run with the Quickweb web server make sure that it is started. If it is not running it can be started by clicking Dynamic AI Web Server in the start menu.

You are now ready to start working with Dynamic AI and can connect to the databases you would like to work with.
